Let's Get You Started !
Our Guides
To work safely, correctly and efficiently with VespaTracker, we recommend reviewing the accompanying manual step by step.
Each step in the process has its own points of attention.
By reviewing the instructions in advance, you increase the chances of a successful and smooth execution.
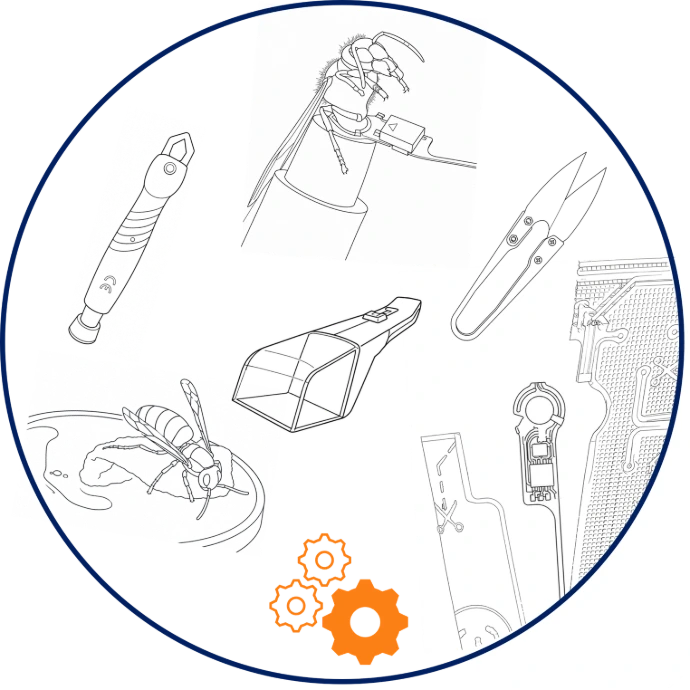
1. GATHER YOUR MATERIALS AND LEARN TO USE THEM
Step 1:
Gather your VespaTracker materials
- Gather all your necessary materials
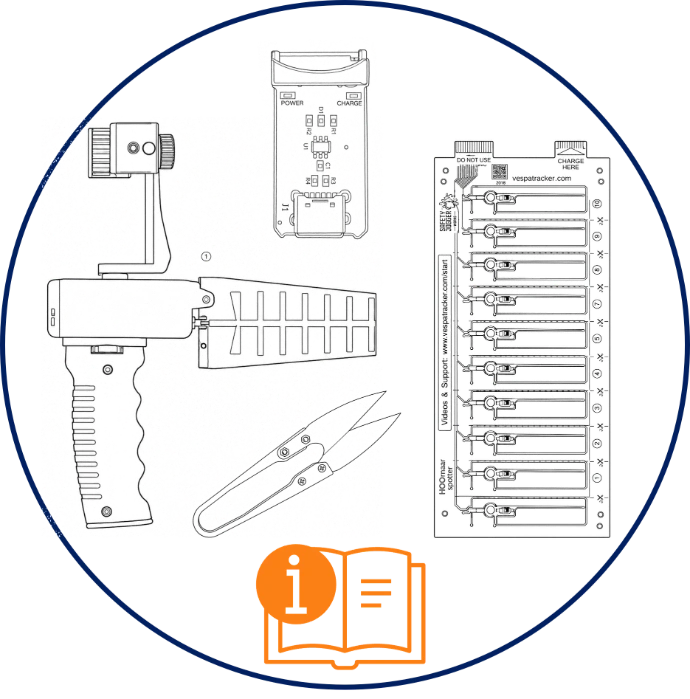
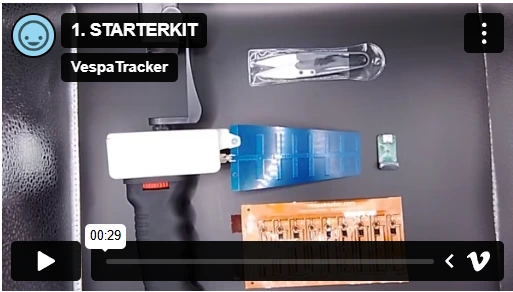
See what the VespaTracker Starter Kit consists of
- RANGE-PRO
- VESPA-NANO SHEET
- NANO-CUTTER
- NANO-CHARGER
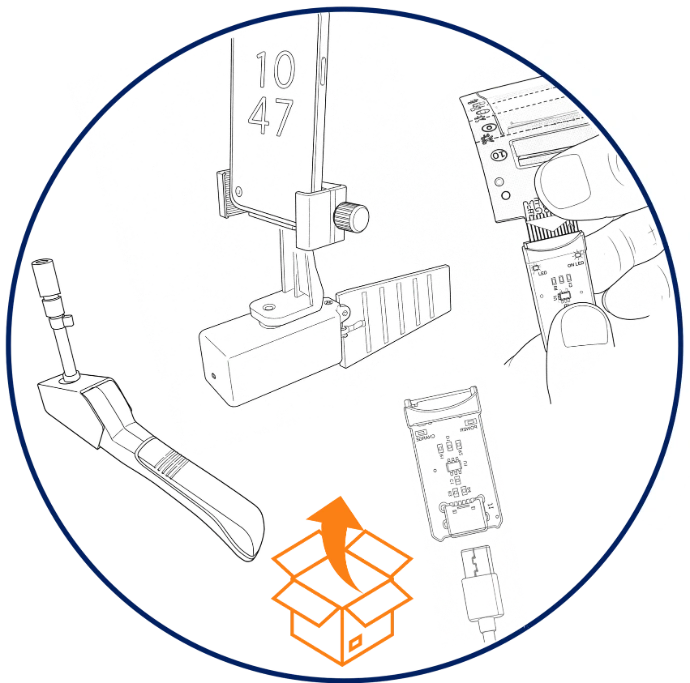
Step 2a:
Learn to use the RANGE-PRO
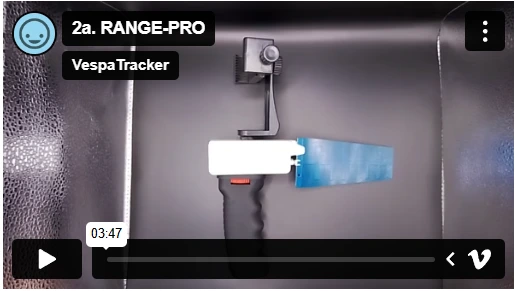
- The RANGE-PRO = a signal booster
- Only use your fingers to tighten the antenna (if necessary)
- Mount your smartphone in the holder
- Press gently and carefully on the power button
Step 2b:
Learn to use the VESPA-NANO SHEET
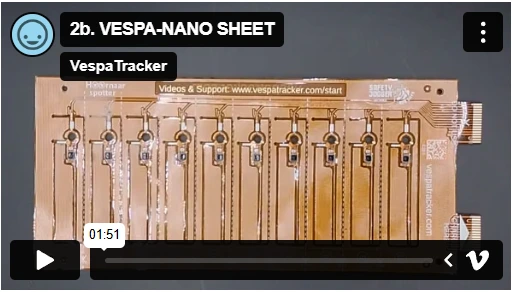
- The VESPA-NANO SHEET = a flexible rechargeable sheet with 10 transmitters ("TAGS")
- Use only with dry and clean hands (!) for correct operation and to prevent damage
- Store in the bubble envelope when not in use
Step 2c:
Learn to use the NANO-CUTTER
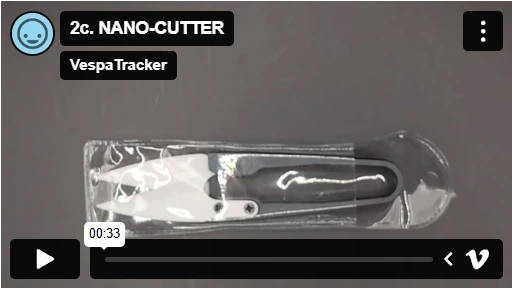
- The NANO-CUTTER = a ceramic scissors to cut the VESPA-NANO TAG from the SHEET
- Only use the ceramic scissors to prevent short circuits (!)
- Be careful, the scissors are extremely sharp (!) and fragile
- Store in the case when not in use
Step 2d:
Learn to use the NANO-CHARGER
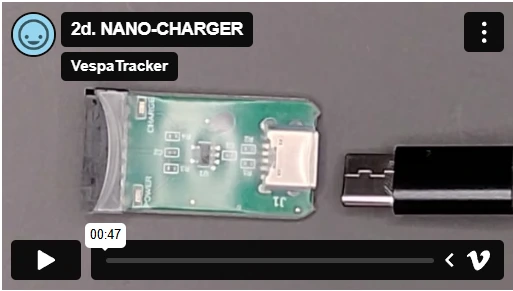
- The NANO-CHARGER = a compact charger for the VESPA-NANO SHEET
- The SHEET must be charged for a minimum of 3 hours
- Do not remove the plastic protective cover
- Compatible with a USB-C cable (cable not included)
RECOMMENDATIONS & POINTS OF ATTENTION
- The scissors are extremely sharp, be careful
- Use the material only with dry and clean hands
- Charge the VESPA-NANO SHEET for a minimum of 3 hours
- When not in use, store the VESPA-NANO SHEET and NANO-CUTTER in their original packaging
- Press the button of the RANGE-PRO carefully , to prevent the button from jamming
2. PREPARATORY WORK
Step 1:
Install the HoornaarSpotter App
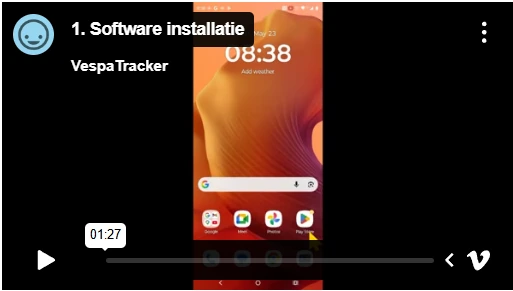
- Go to the App store on your smartphone
- Download the HoornaarSpotter app
- Create an account now
Step 2:
Charging the VESPA-NANO Sheet
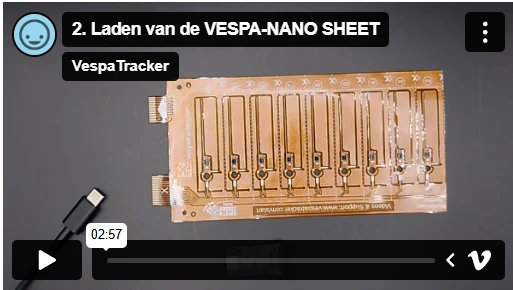
- Connect via a USB-C cable (not included) to a power source (mains, laptop, car, ...)
- Red LED = the NANO-CHARGER is receiving power and is ready for use
- Take the SHEET with the thumb on the triangle of the 'Charge here' port fixed
- Push the SHEET gently into the charging port of the NANO-CHARGER until you hear the 'click' and feel it
- Green LED = the SHEET is charging
- The charging process takes at least 3 hours
Step 3:
Assembling the VESPA-TWEEZERS Applicator Kit
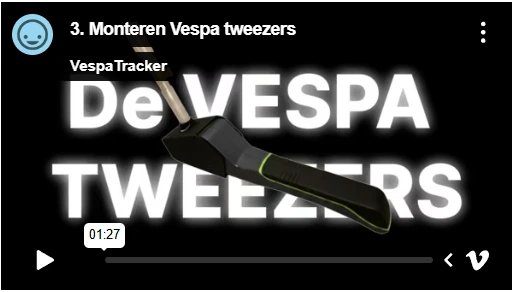
- Remove the parts from the catcher
- Slide the ring and then the pusher over the clamp pin
- Hook the rubber band over the pusher to prevent shifting and loss
- Place the clamp pin on the black box
- The catcher, with the green plate facing up, slide it into the black box
- The slider insert under and through the ring, and click it onto the clamp pin
RECOMMENDATIONS & POINTS OF ATTENTION
- Use the material only with dry and clean hands
- Ensure that the HornetSpotter App is installed, and your account is created
- Ensure that the VESPA-NANO Sheet is charged for a minimum of 3 hours
- Ensure that the VESPA-TWEEZERS is assembled
- Only cut the VESPA-NANO transmitter loose AFTER you have immobilised the hornet in the VESPA-TWEEZERS
3. ACTIVATING AND ATTACHING THE VESPA-NANO TRANSMITTER (with the VESPA-TWEEZERS)
Step 1:
Locate and catch an Asian hornet
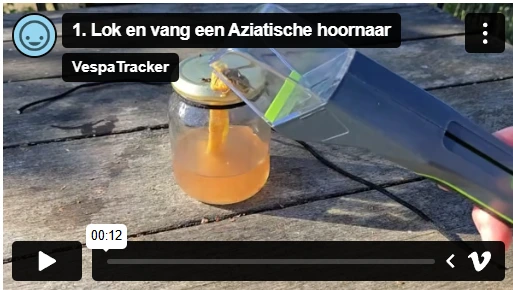
- Attract a hornet to a lure pot
- The prior following of the flight direction of a marked hornet will assist in detection
- Catch the hornet from behind and slide the catcher closed
Step 2:
Clamp the abdomen
and immobilise the hornet
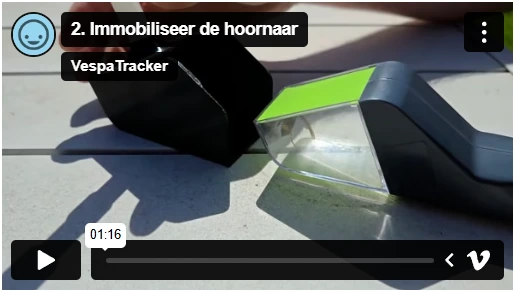
- Slide the catcher with the green plate up into the mounted Vespa-Tweezers
- Take your time to carefully and safely immobilise the hornet
- Follow the instructions
Step 3:
Activating the VESPA-NANO Tag
by cutting it out
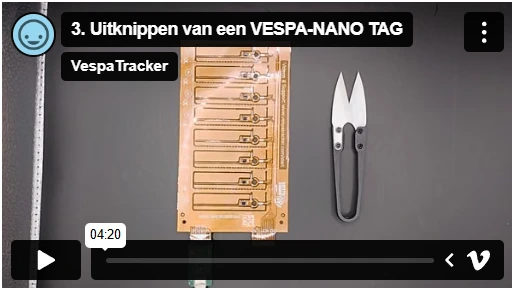
- Use the materials only with dry hands
- Follow the cutting instructions on the Sheet:
cut along the dotted line, first from scissor 1 and then scissor 2 - Be careful (!), the scissors are extremely sharp
- The battery of the transmitter activates as soon as you cut past scissors 1 !
Step 4:
Attaching the VESPA-NANO Tag
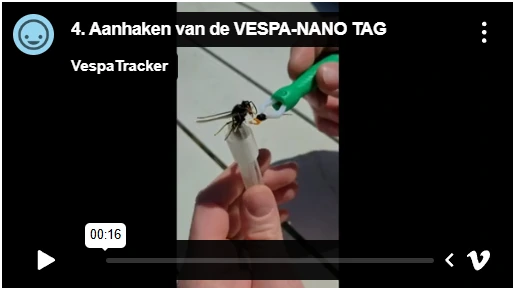
- Take the tracker pliers in one hand with the VESPA-NANO TAG, secured on the short sides of the battery
- Take the clamp pin in the other hand with the immobilised wasp
- Take your time to hook the VESPA-NANO TAG around the waist of the wasp, and check the attachment
Step 5:
Release the tagged wasp
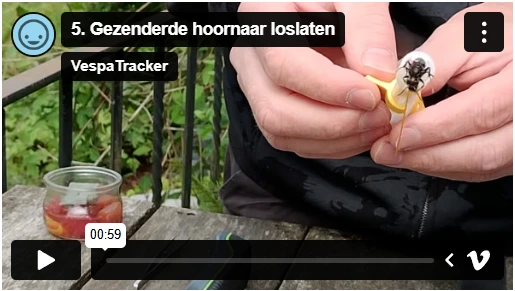
- Release the tagged hornet on the bait pot so it can regain some strength
- Slide the ring downwards
- Keep a safe distance
Step 6:
Storing the VESPA-NANO sheet
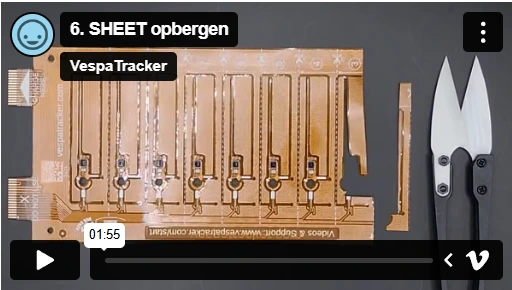
- Cut along the dotted line of scissors 3 to remove the excess material
- Be careful, the scissors are extremely sharp (!)
RECOMMENDATIONS & POINTS OF ATTENTION
- Use the material only with dry and clean hands
- The battery has a lifespan of 4 hours, so activate and hook the VESPA-NANO TAG only when you are about to go hunting
- The prior tracking of the flight direction of a marked wasp will assist in locating it
- Immobilise the wasp in the VESPA-TWEEZERS and then cut only release the VESPA-NANO TAG to activate the battery
- Take your time to carefully and safely hook the VESPA-NANO TAG around the waist of the wasp
- Let the tagged wasp free on the lure pot so it can recover a bit, keep as much distance as possible
- When dealing with a 'small' hornet, keep in mind that the more the hornet drinks, the more its body weight increases
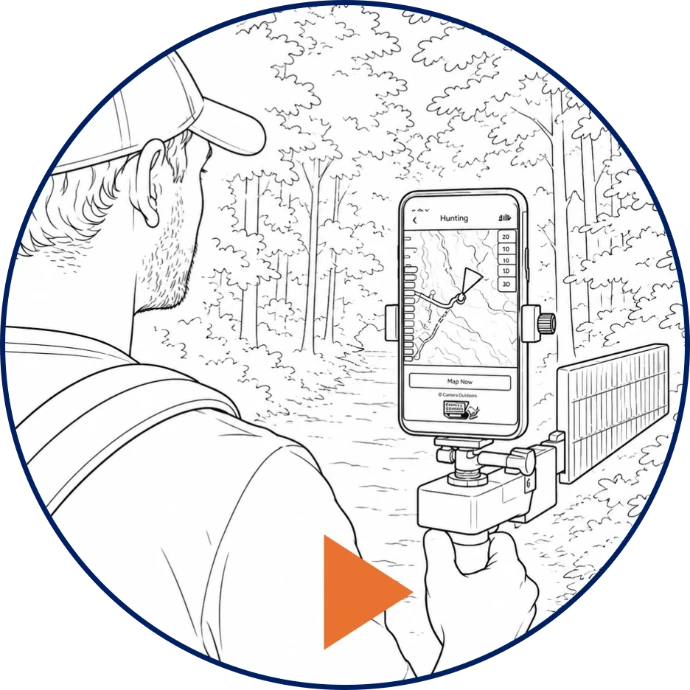
4. HUNTING - Now supplemented with new videos !
With the SmartPhone - instructions:

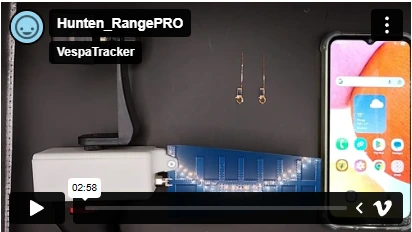
With the RANGE-PRO - instructions:
Team hunting with the Smartphone:
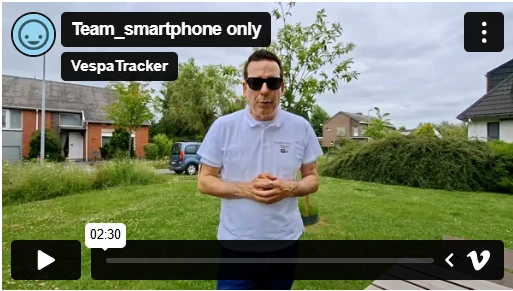
- Team hunting = when multiple people want to search for the same VespaNano Tag
- Let wel op de performantieverschillen:
met RANGE-PRO >>> Smartphone - Android >>> iOS Apple Smartphone
Team hunting with the RANGE-PRO:
VespaTracker in action - Intro:
VespaTracker in action - Part 1:
VespaTracker in action - Part 2:
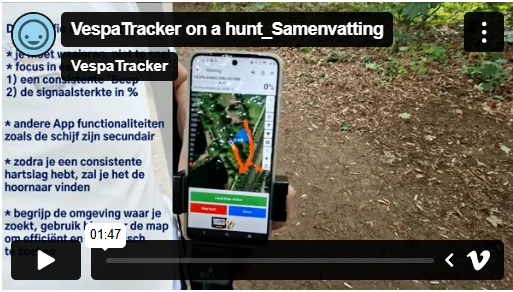
VespaTracker in action - Summary:
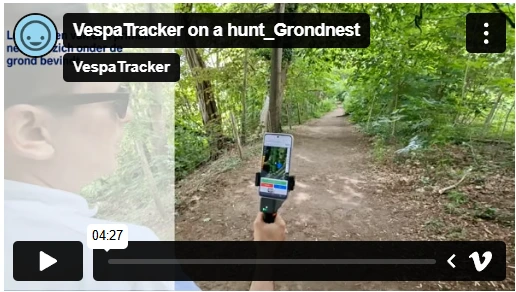
Ground nest - What to do :
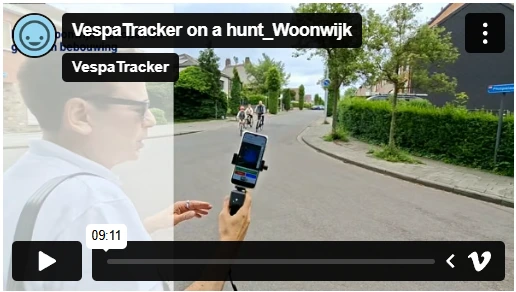
Residential area - What to do :
Railway or Tunnel - What to do :
